A Beginner-Friendly Vim Guide: Commands That Actually Make Sense
A cheat sheet is usually just a dense pile of commands meant for quick lookup. That is useful, but for beginners, lookup is not the first problem. The real problem is understanding what exists and how it is supposed to be used.
So instead of listing shortcuts like a reference card, it helps to look at Vim from a beginner’s point of view. That matters more than it sounds. Experts often know too much; when they explain Vim, they can easily drift into showing off instead of teaching. Many Vim commands do not feel random once you start connecting them to familiar words or actions. I have not tried to verify what the original designers intended, but by making associations—some more natural than others—it becomes much easier to remember why a key does what it does.
Movement and Positioning
Basic movement starts with hjkl for left, down, up, and right. That part is easy, but knowing only these four keys is nowhere near enough.
The biggest challenge when you are not using a mouse is getting to the right place quickly. Once you are comfortable with Vim’s movement commands, your hands no longer need to leave the keyboard at all, and that is one of Vim’s biggest strengths.
Movement can be understood in different units: a character, a word, a line, a paragraph, or even part of a screen. hjkl is character-level movement.
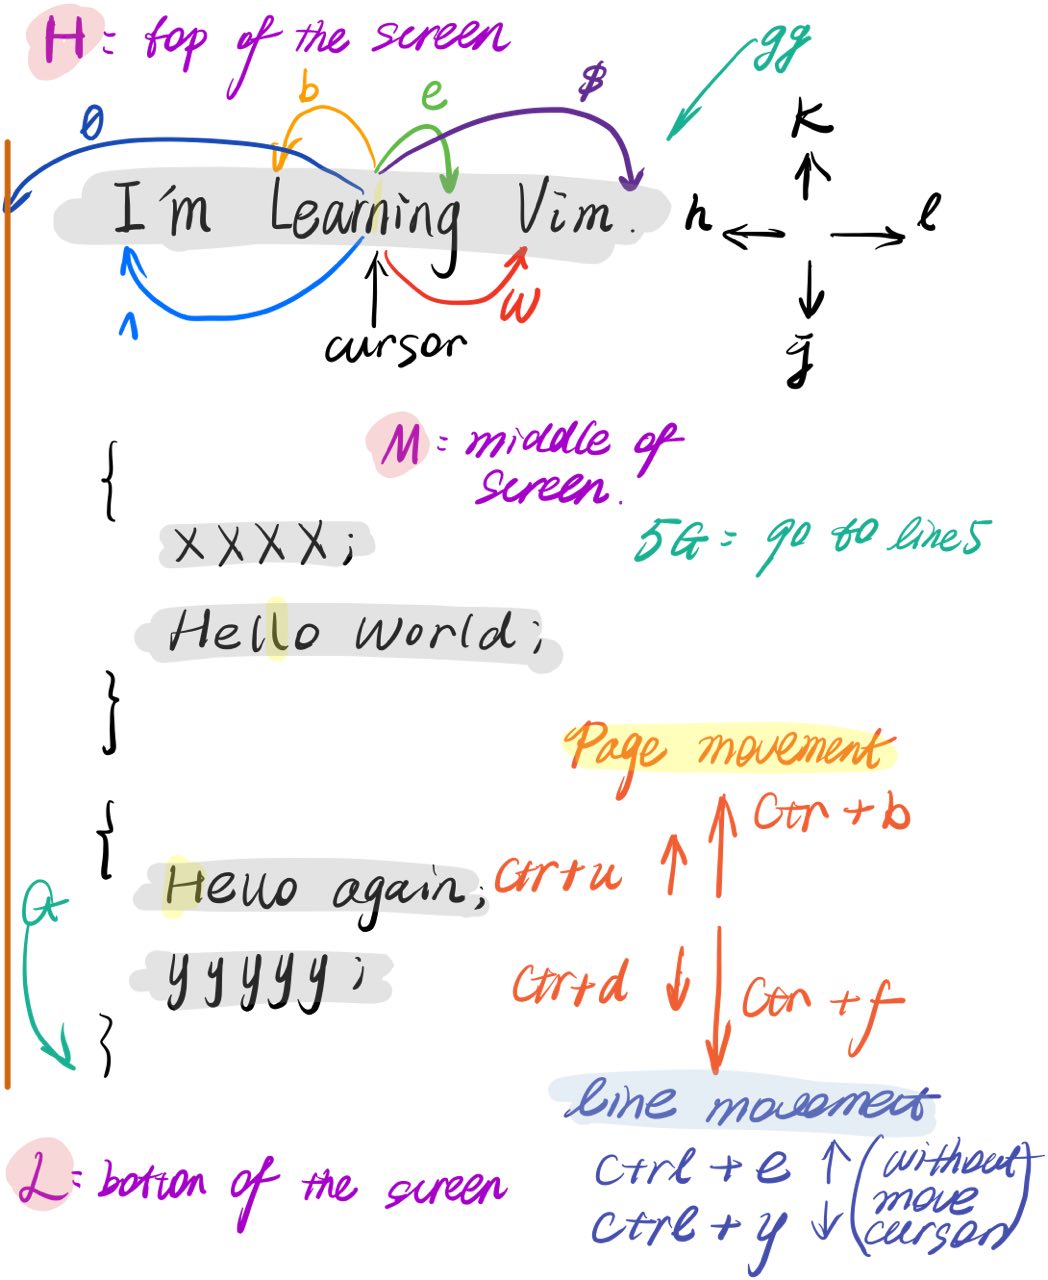
If you think in terms of the visible screen, Vim gives you fast jumps to the top, middle, and bottom of the current window: H for Header, M for Middle, and L for Last. To move across screens, use Ctrl+b for backward and Ctrl+f for forward. There is also half-screen movement: Ctrl+u moves up half a page, and Ctrl+d moves down half a page. Once you notice these associations, they are much easier to memorize.
For line-based movement, g can be thought of as goto. G jumps to the last line. In Vim, uppercase versions of commands often mean a stronger version of the same action or movement in the opposite direction; this pattern appears again and again. If you put a number before G, Vim jumps to that exact line. 10G means go to line 10.
This number-plus-command pattern is common throughout Vim. When used with editing commands, the number usually means repeating the action that many times.
Besides jumping, there is also scrolling while keeping the cursor on the current line. That is what Ctrl+e and Ctrl+y are for. You can also prefix them with a number to scroll multiple lines at once. One possible way to remember e is to connect it to Enter: like a typewriter effect, the content moves upward, which means you are effectively moving downward through the text.
At the word level, the first useful targets are the beginning and end of a word. Here, b means back and e means end. If the cursor is already at a word boundary, these commands move to the previous word start or the next word end. w goes directly to the beginning of the next word.
Vim also makes an interesting distinction between word and WORD. Put simply, a lowercase word excludes punctuation, while an uppercase WORD treats punctuation as part of the same unit. For example, I’m counts as one WORD, but not as one word.
Two other movement-related details are especially useful in code.
The first is the difference between 0 and ^. 0 moves to the absolute beginning of the current line. ^ moves to the first non-blank character on that line. Because indentation is so common in code, ^ often ends up being more practical.
The second is %, which jumps between matching brackets or parentheses. It is heavily used in programming. A simple memory trick is to connect it with both Percentage and Parentheses.
Editing
Think about what usually happens after you move the cursor to a location. In most cases, you either start typing, delete something, or select a range in order to copy or paste.

replace changes a single character.
c can be remembered as cut. For example, cw cuts from the cursor position to the end of the word. ciw is more complete: even if the cursor is in the middle of the word, it removes the whole word. caw goes one step further and removes the word along with the following space. cc cuts the entire current line, and S has the same effect. c$ cuts from the cursor to the end of the line.
This pattern—basic command plus suffix—is everywhere in Vim, and most commands become much more powerful when combined this way.
J means Join: it merges two lines and inserts a space between them. gJ joins lines without inserting that extra space.
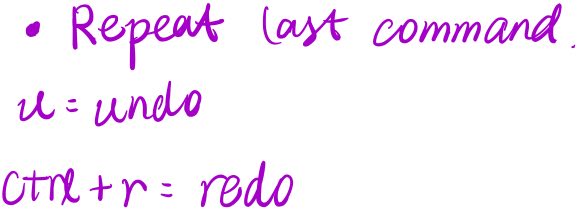
. repeats the last change. In practice, not everyone uses it as much as they could; it is often tempting to just type the original command again. But used well, it definitely saves time.
u is undo, which is very intuitive. U restores the last modified line, but it is separate from normal undo and redo, so it is not commonly used. Ctrl+r performs redo.
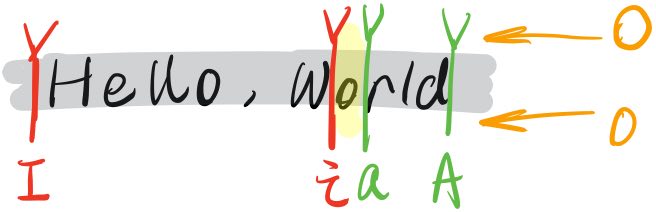
For inserting text, i means insert before the cursor, while I jumps to the beginning of the line and starts inserting there. a means append after the cursor, and A appends at the end of the line. Again, uppercase often acts like an intensified version of the lowercase command.
o opens a new line below the current one, which is easy to remember as open a line. O opens a new line above. In this pair, uppercase reverses the direction.
Visual Selection
Selecting text means choosing a word, a paragraph, or, in code, sometimes a whole block.

Selection is something many people only really notice after using Vim for a while. More accurately, it is a separate mode. You enter it with v for visual. Uppercase V enters linewise visual mode, where lines become the basic unit of selection.
Block-related text objects are especially useful: ab, aB, ib, iB, aw. A simple way to remember them is this:
- a = all
- i = inner
- b = small block, meaning parentheses
() - B = big block, meaning braces
{}
With i, you select only the contents inside the block. With a, you include the surrounding delimiters as well, such as the parentheses themselves. That makes the whole system much easier to understand and remember.
Inside a visual selection, o moves the cursor to the other end of the selected range, letting you bounce between the two boundaries. Thinking of it as boundary helps.
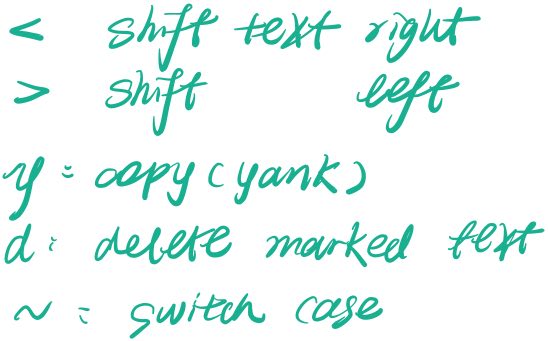
< and > are used to decrease or increase indentation.
Once something is selected, you can copy it with yank. Historically, yank means pulling something hard and fast, which is probably why the term was chosen. In practice, it is simply Vim’s word for copy.
Copying and Pasting


As mentioned above, y means yank, or copy. yy copies the current line. This is similar to cc: repeating the command turns it into a line-based action. Like other operators in Vim, y becomes more useful when combined with motions and text objects.

p for paste is straightforward. P once again gives the reverse-direction behavior.
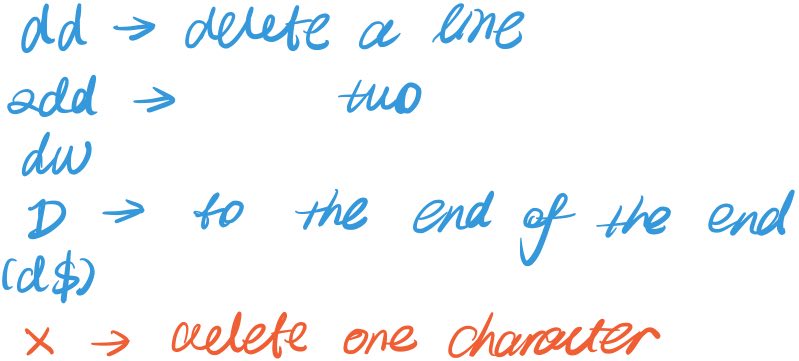
d means delete, and its combinations are also very common. One special case is d$, which can be written more simply as D. Here the uppercase form does not follow exactly the same pattern as some of the other commands above.
x deletes a single character. It is one of those commands that becomes natural through use even if the letter itself is not immediately memorable.
Searching and Replacing

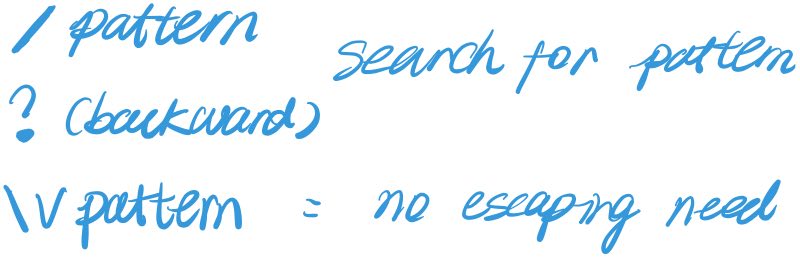
Use / to search forward and ? to search backward. ** treats all characters literally during search, meaning they are not interpreted as regular expressions, so you do not need to escape them.
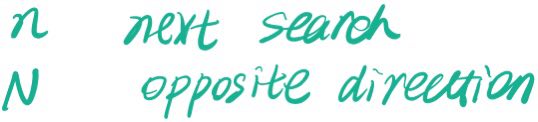
After a search, the result remains available, and you can jump through matches with n and N for next and reverse-next.

For substitution, the form is %s old new g. Here s can be understood as search or substitute. % means all lines. If you do not want to replace across the whole file, % can be replaced by a line range such as 2,10 for lines 2 through 10. Adding c at the end makes Vim ask for confirmation before each replacement.
These are the Vim techniques that feel especially useful early on. Vim is vast, and there is a great deal more beyond this set. But it is often better to learn some things later rather than all at once. Meeting a useful command a little late can make you appreciate it more.