How to Set Up a TeamSpeak 3 Server with TS3AudioBot on Linux
Here is a straightforward record of deploying a TeamSpeak server together with the TS3AudioBot music bot.
Before you start
Server environment
The setup here uses an Alibaba Cloud Linux 3.21.04 instance on Alibaba Cloud with the following specs:
- 2 CPU cores
- 2 GB RAM
- 3 Mbps bandwidth
- 50 GB disk
Open the required ports
A TeamSpeak server uses several ports. Add the ones you need in your security group or firewall rules.
<table> <thead> <tr> <th>Service</th> <th>Protocol</th> <th>Local Port (Server)</th> <th>Required?</th> </tr> </thead> <tbody> <tr> <td>Voice</td> <td>UDP</td> <td>9987</td> <td>Yes</td> </tr> <tr> <td>Filetransfer</td> <td>TCP</td> <td>30033</td> <td>Yes</td> </tr> <tr> <td>ServerQuery</td> <td>TCP</td> <td>10011</td> <td>Optional</td> </tr> <tr> <td>ServerQuery</td> <td>SSH</td> <td>10022</td> <td>Optional</td> </tr> <tr> <td>WebQuery</td> <td>HTTP</td> <td>10080</td> <td>Optional</td> </tr> <tr> <td>WebQuery</td> <td>HTTPS</td> <td>10443</td> <td>Optional</td> </tr> <tr> <td>TSDNS</td> <td>TCP</td> <td>41144</td> <td>Optional</td> </tr> </tbody> </table>The two ports you must open are:
- Voice:
9987/UDP - Filetransfer:
30033/TCP
The rest can be enabled only if you actually plan to use those features.
Create a dedicated user
Create a separate user for running the TeamSpeak service, then switch to it.
<table> <thead> <tr> <th>1 2 3 4</th>
<th>useradd -m teamspeak # 创建用户 passwd teamspeak # 设置密码 usermod -aG sudo teamspeak # 添加 sudo 权限(可选) su - teamspeak # 切换用户</th>
</tr>
</thead>
<tbody>
<tr>
<td></td>
<td></td>
</tr>
</tbody>
</table>
The remaining steps are performed as the teamspeak user under /home/teamspeak/.
Install FFmpeg
TS3AudioBot relies on FFmpeg to process audio files. On Alibaba Cloud Linux 3.21.04, FFmpeg is not installed by default, so it has to be added manually.
Download the matching static build and extract it:
<table> <thead> <tr> <th>1 2</th>
<th>wget https://johnvansickle.com/ffmpeg/releases/ffmpeg-release-amd64-static.tar.xz tar -xvf ffmpeg-release-amd64-static.tar.xz</th>
</tr>
</thead>
<tbody>
<tr>
<td></td>
<td></td>
</tr>
</tbody>
</table>
Move the extracted directory to /data/software/ and create symlinks:
1 2 3</th>
<th>mv ffmpeg-7.0.2-amd64-static/ /data/software/ ln -s /data/software/ffmpeg-7.0.2-amd64-static/ffmpeg /usr/local/bin/ffmpeg ln -s /data/software/ffmpeg-7.0.2-amd64-static/ffprobe /usr/local/bin/ffprobe</th>
</tr>
</thead>
<tbody>
<tr>
<td></td>
<td></td>
</tr>
</tbody>
</table>
At this point, FFmpeg is ready.
Fixing the Couldn't find a valid ICU package error
When launching TS3AudioBot, you may run into the error Couldn't find a valid ICU package. This happens because the bot depends on the ICU library.
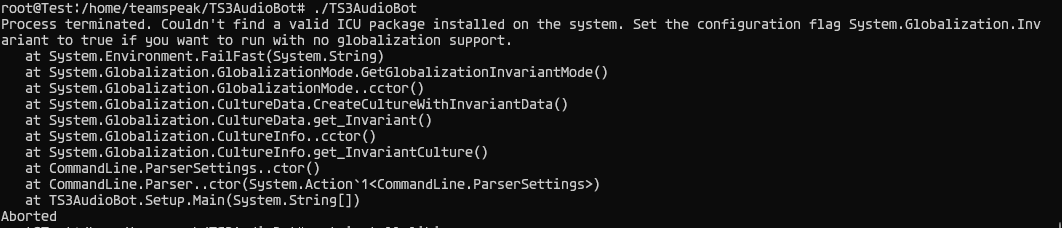
Using Debian as an example, install libicu-dev:
1</th>
<th>sudo apt-get install libicu-dev</th>
</tr>
</thead>
<tbody>
<tr>
<td></td>
<td></td>
</tr>
</tbody>
</table>
Once the package is installed, restart TS3AudioBot.
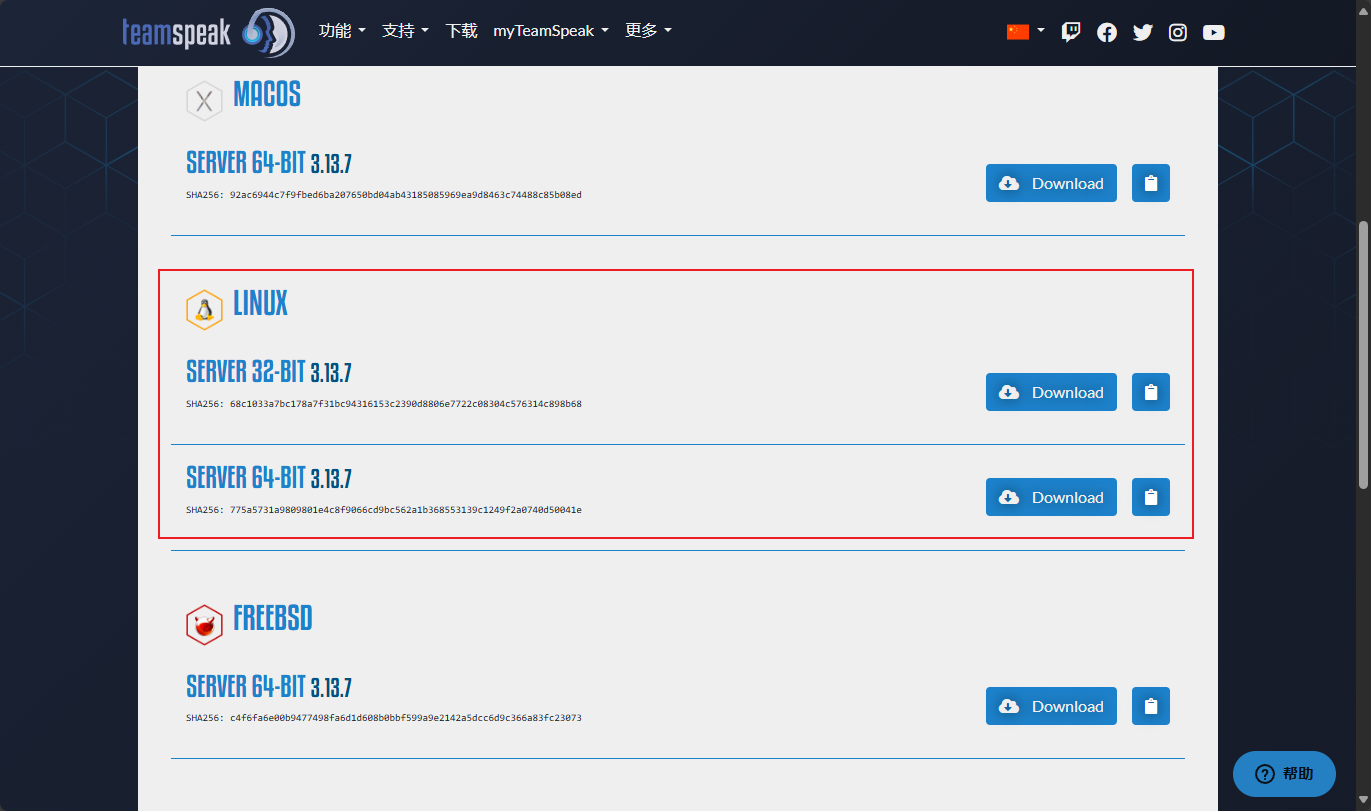
Setting up the TeamSpeak 3 server
First, download the latest TeamSpeak server package for your platform.
Download the server with wget:
1</th>
<th>wget https://files.teamspeak-services.com/releases/server/3.13.7/teamspeak3-server_linux_amd64-3.13.7.tar.bz2</th>
</tr>
</thead>
<tbody>
<tr>
<td></td>
<td></td>
</tr>
</tbody>
</table>
Extract it:
<table> <thead> <tr> <th>1</th>
<th>tar -xjf teamspeak3-server_linux_amd64-3.13.7.tar.bz2</th>
</tr>
</thead>
<tbody>
<tr>
<td></td>
<td></td>
</tr>
</tbody>
</table>
Accept the license terms:
<table> <thead> <tr> <th>1</th>
<th>touch .ts3server_license_accepted</th>
</tr>
</thead>
<tbody>
<tr>
<td></td>
<td></td>
</tr>
</tbody>
</table>
Start the server:
<table> <thead> <tr> <th>1</th>
<th>./ts3server_startscript.sh start</th>
</tr>
</thead>
<tbody>
<tr>
<td></td>
<td></td>
</tr>
</tbody>
</table>
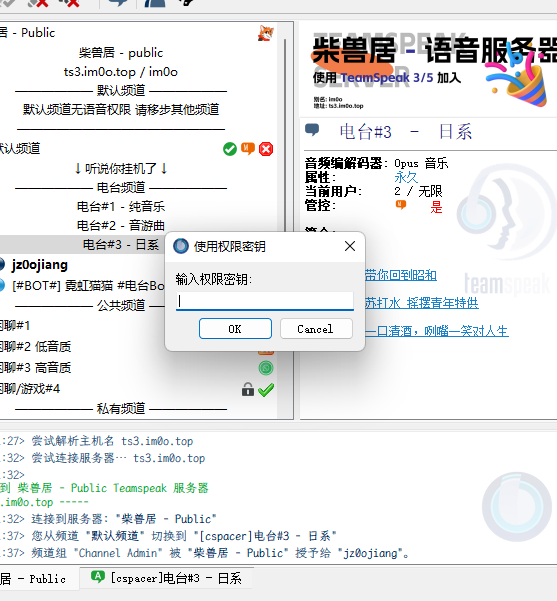
After startup, the server will print the Server Query Admin account and the ServerAdmin token. Save them somewhere safe.
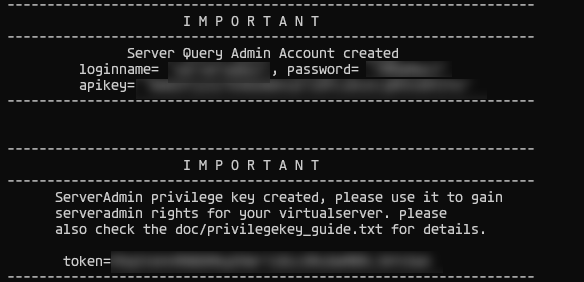
When you join the server using a TeamSpeak client, a Use Privilege Key prompt should appear. Enter the ServerAdmin token there.
If you close that dialog by accident, you can still find it in the client menu under Permissions → Use Privilege Key.
Installing TS3AudioBot
The TS3AudioBot WebUI listens on port 58913 by default, so that port also needs to be allowed in your firewall or security group.
If you point a domain name to the server but the domain is not filed for use, Alibaba Cloud may block access. In that case, access the WebUI directly through IP:58913.
Dependencies
Install the required packages for your distribution.
- Ubuntu/Debian
1</th>
<th>sudo apt-get install libopus-dev ffmpeg</th>
</tr>
</thead>
<tbody>
<tr>
<td></td>
<td></td>
</tr>
</tbody>
</table>
- Arch Linux
1</th>
<th>sudo pacman -S ffmpeg opus</th>
</tr>
</thead>
<tbody>
<tr>
<td></td>
<td></td>
</tr>
</tbody>
</table>
- CentOS/Aliba Cloud Linux
1 2</th>
<th>sudo yum install epel-release sudo yum install opus-devel</th>
</tr>
</thead>
<tbody>
<tr>
<td></td>
<td></td>
</tr>
</tbody>
</table>
Download and extract TS3AudioBot
Create a directory for the bot and download the current build there:
<table> <thead> <tr> <th>1 2 3 4</th>
<th># 创建 TS3AudioBot 目录,接下来的操作将在该目录下进行 mkdir TS3AudioBot cd TS3AudioBot wget -O TS3AudioBot.tar.gz https://splamy.de/api/nightly/projects/ts3ab/develop_linux_x64/download</th>
</tr>
</thead>
<tbody>
<tr>
<td></td>
<td></td>
</tr>
</tbody>
</table>
Extract the archive and remove it afterward:
<table> <thead> <tr> <th>1 2 3</th>
<th>tar -xzf TS3AudioBot.tar.gz # 删除压缩包 rm TS3AudioBot.tar.gz</th>
</tr>
</thead>
<tbody>
<tr>
<td></td>
<td></td>
</tr>
</tbody>
</table>
First launch of TS3AudioBot
Start the bot:
<table> <thead> <tr> <th>1</th>
<th>./TS3AudioBot</th>
</tr>
</thead>
<tbody>
<tr>
<td></td>
<td></td>
</tr>
</tbody>
</table>
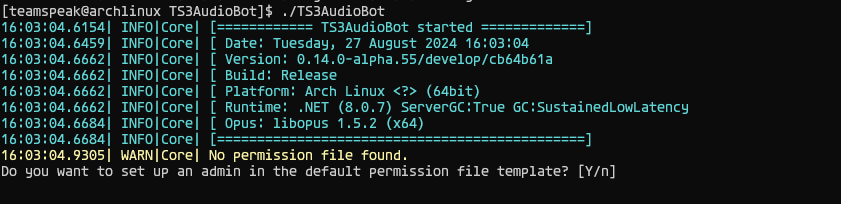
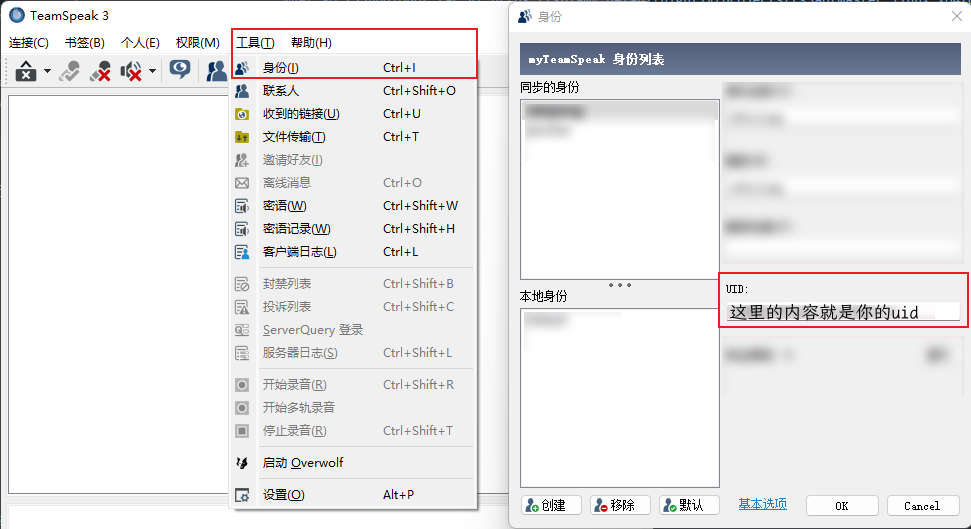
After confirming, enter serveradmin or your TeamSpeak UID.
Then enter the address of your TeamSpeak server.

If your server has a password, enter it here. If not, leave it blank.
Once completed, a bot named TS3AudioBot should join your channel.
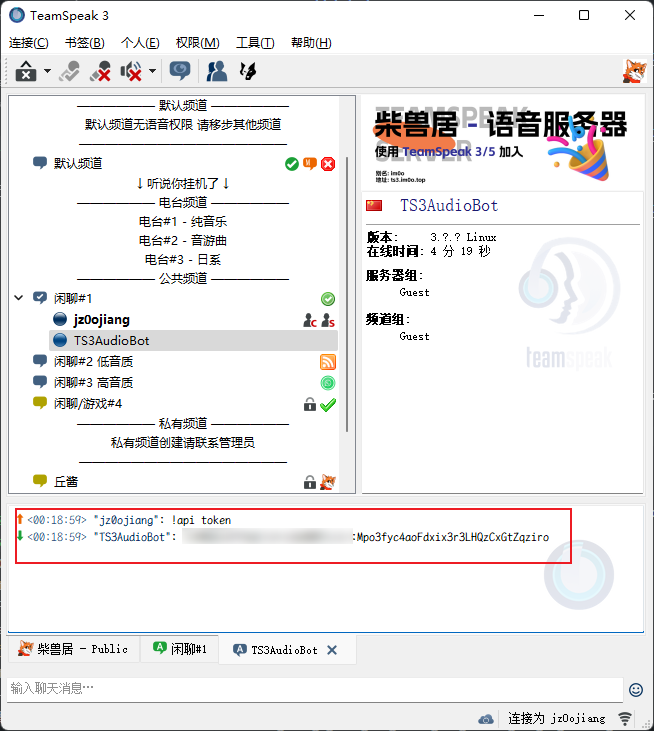
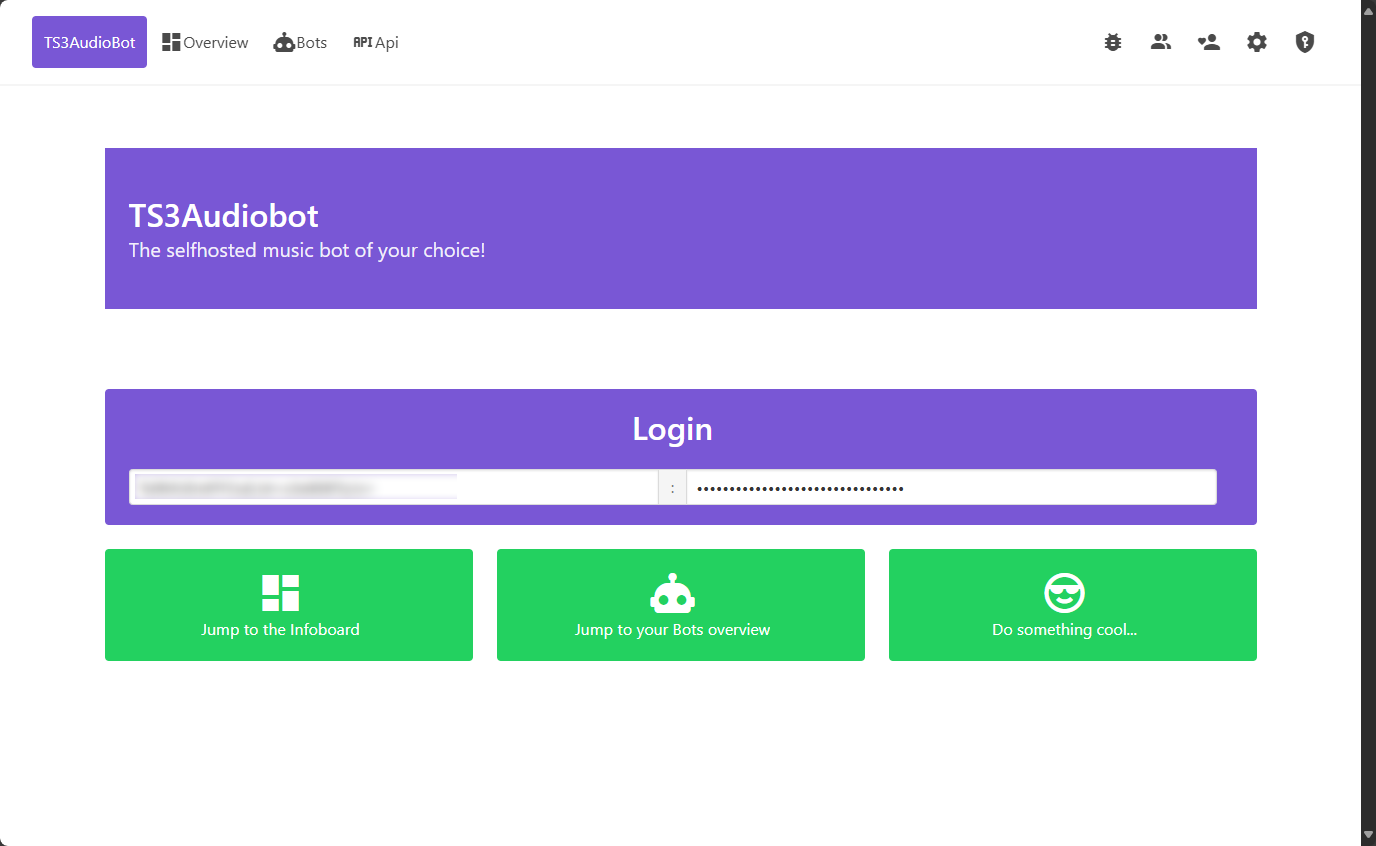
Logging in to the TS3AudioBot WebUI
To get the login token, open a private chat with the bot and send:
!api token
That will return the token required for the WebUI.
The WebUI address is:
http://<IP of the server running TS3AudioBot>:58913
Open it in a browser and paste the token into the login field.
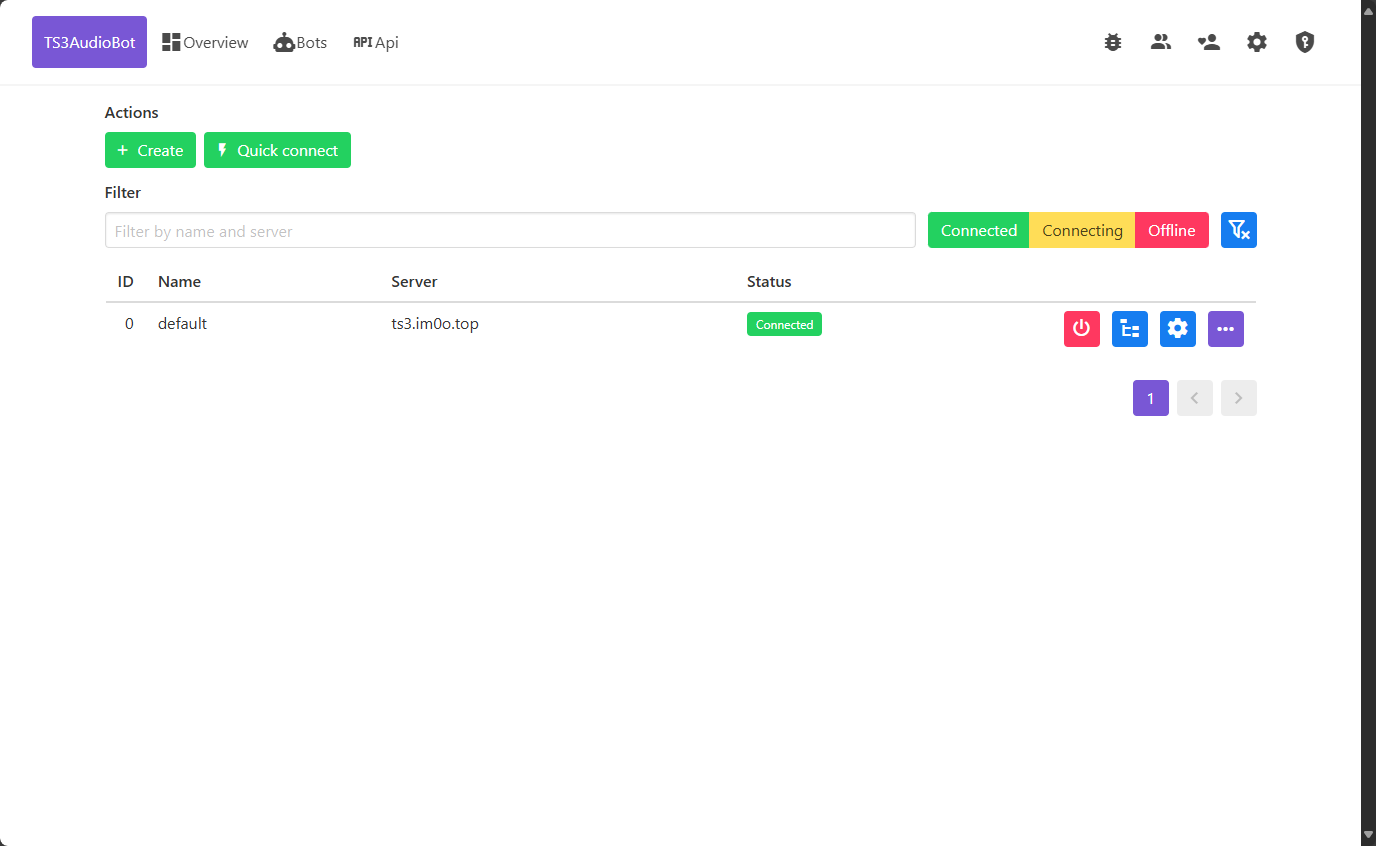
Managing the bot
After logging in, click Jump to your Bots overview on the homepage, or open Bots from the top menu to manage and edit the bot.
A couple of practical notes
Save bandwidth with localhost
If TeamSpeak and TS3AudioBot are running on the same machine, set the bot's server address to localhost. That avoids unnecessary public bandwidth usage.
Join the server in one click
You can open the TeamSpeak server directly from a browser with:
ts3server://<your TeamSpeak server address>
The image at the top uses exactly this behavior.